Your domain email address can be accessed using any mail programme, including Gmail.
The advantages of using Gmail are:
- the interface may be more familiar to you if you are already using it
- your mail can be accessed from any online computer or device
- 15GB of storage is provided per mailbox, which is useful if you want to store a large amount of mail without incurring disk over-usage charges.
Set up your domain email
- Browse to Gmail and log in
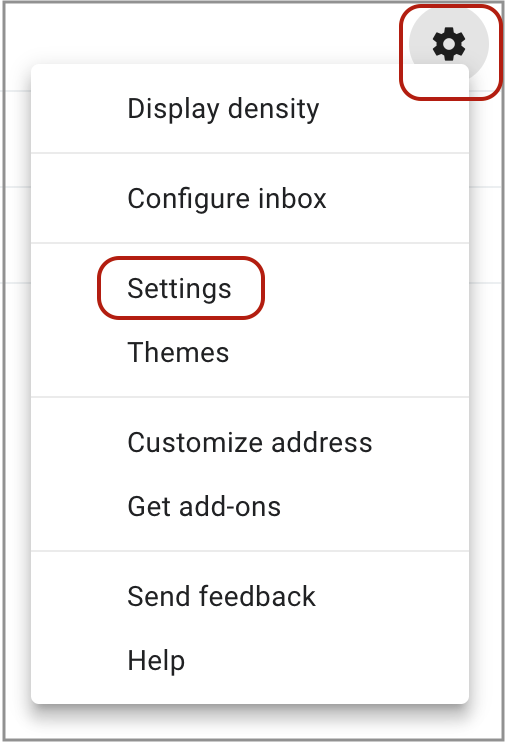
- Select the Settings icon from the top-right menu, then choose Settings from the dropdown list
- Select Accounts and Import

- Select Add a mail account

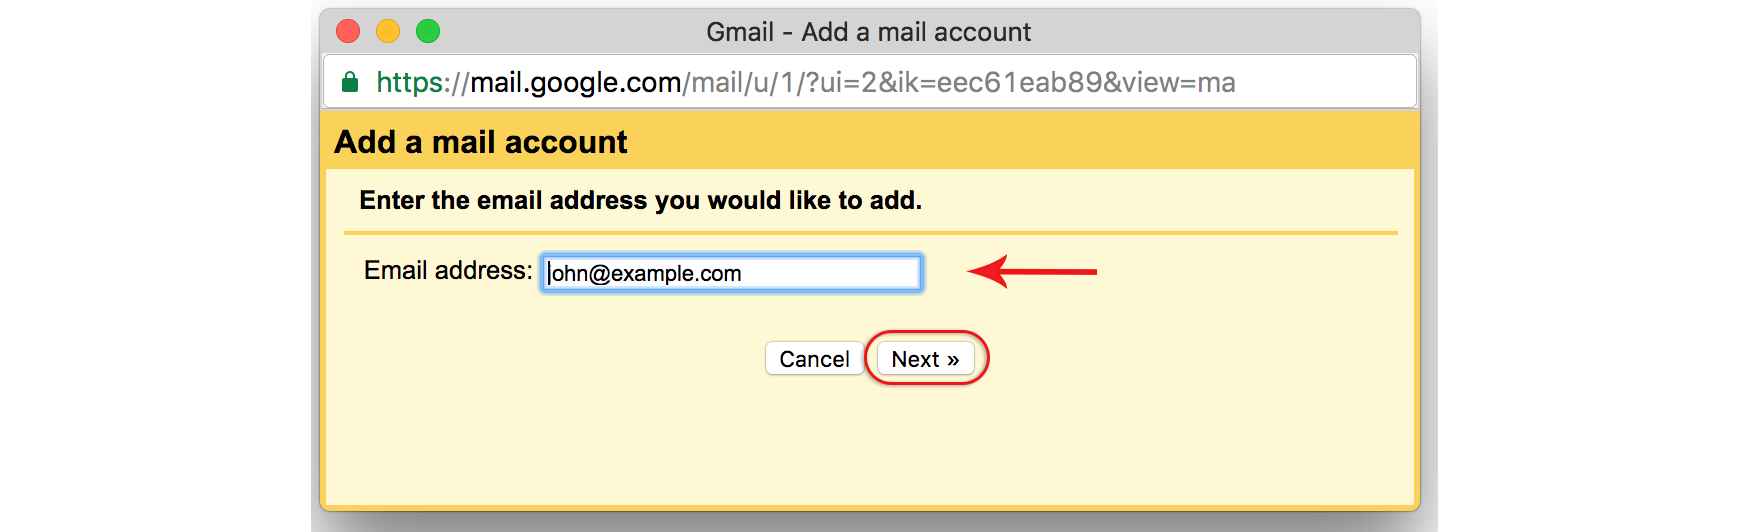
- Enter your Email address, select Next
- Select the second option and select Next

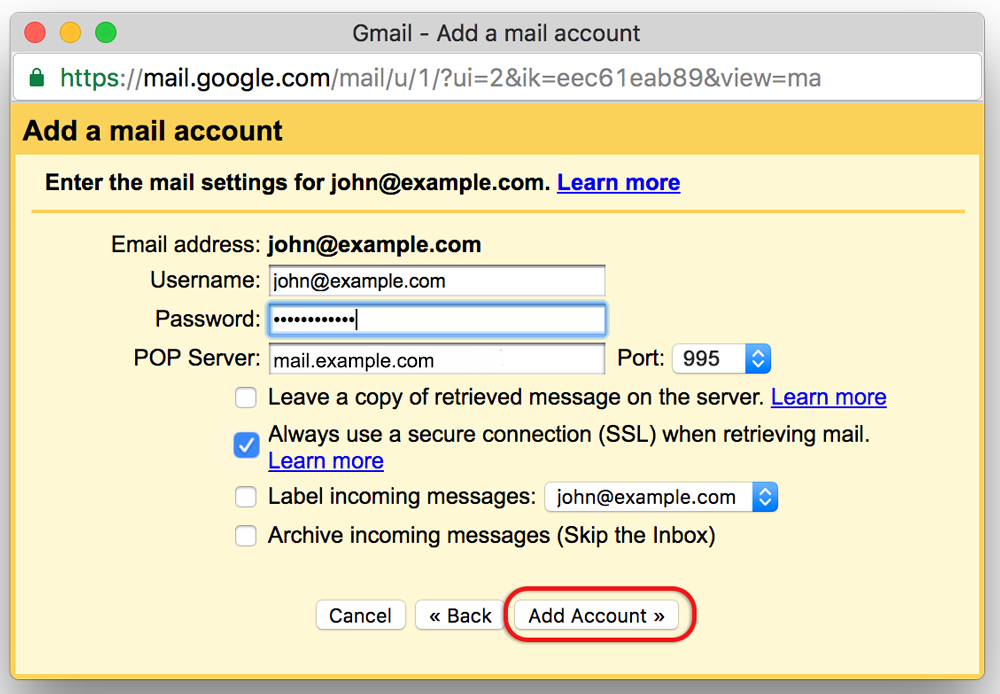
- Gmail will automatically add certain settings, but check that:
- The Username is the full email address
- The Password assigned to you when you when you created the account
- The POP Server has pop. in front of the domain name e.g. mail.example.com*
- Port is 995
- If you would like to use SSL, use us2.pop.mailhostbox.com instead of pop.example.com
- Select Add Account
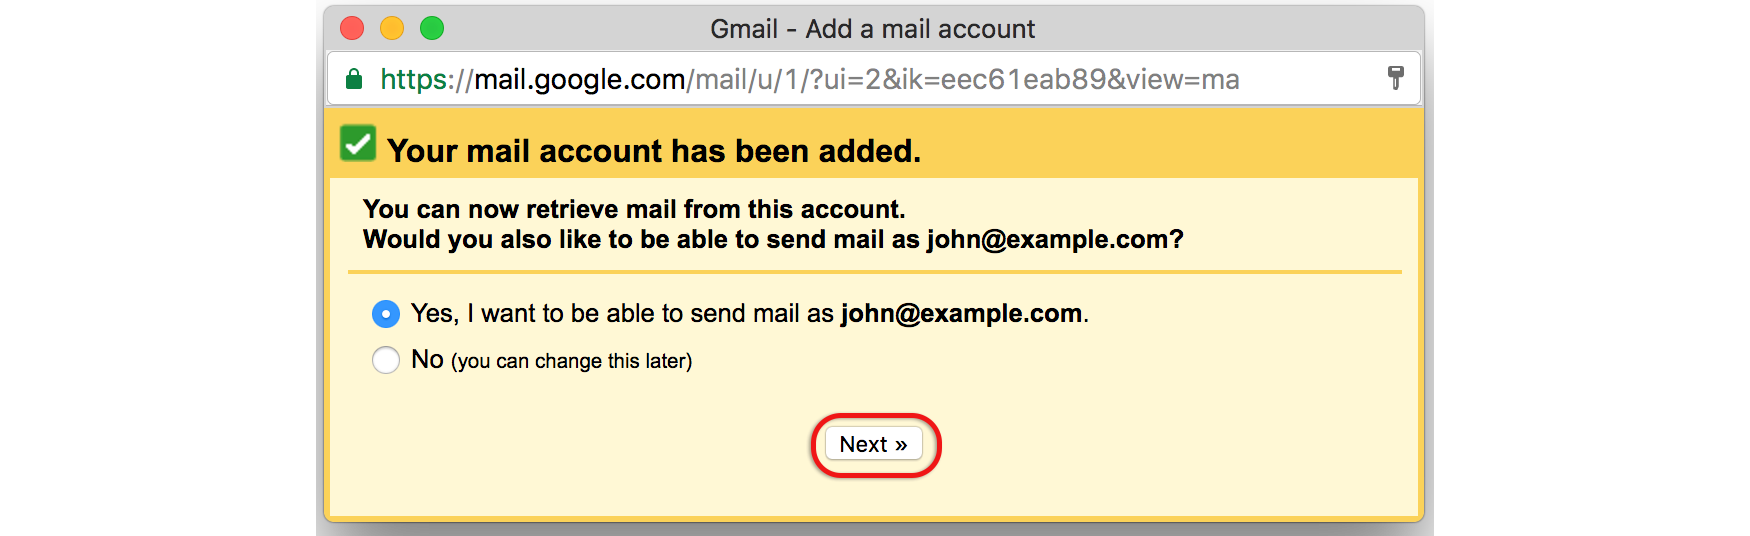
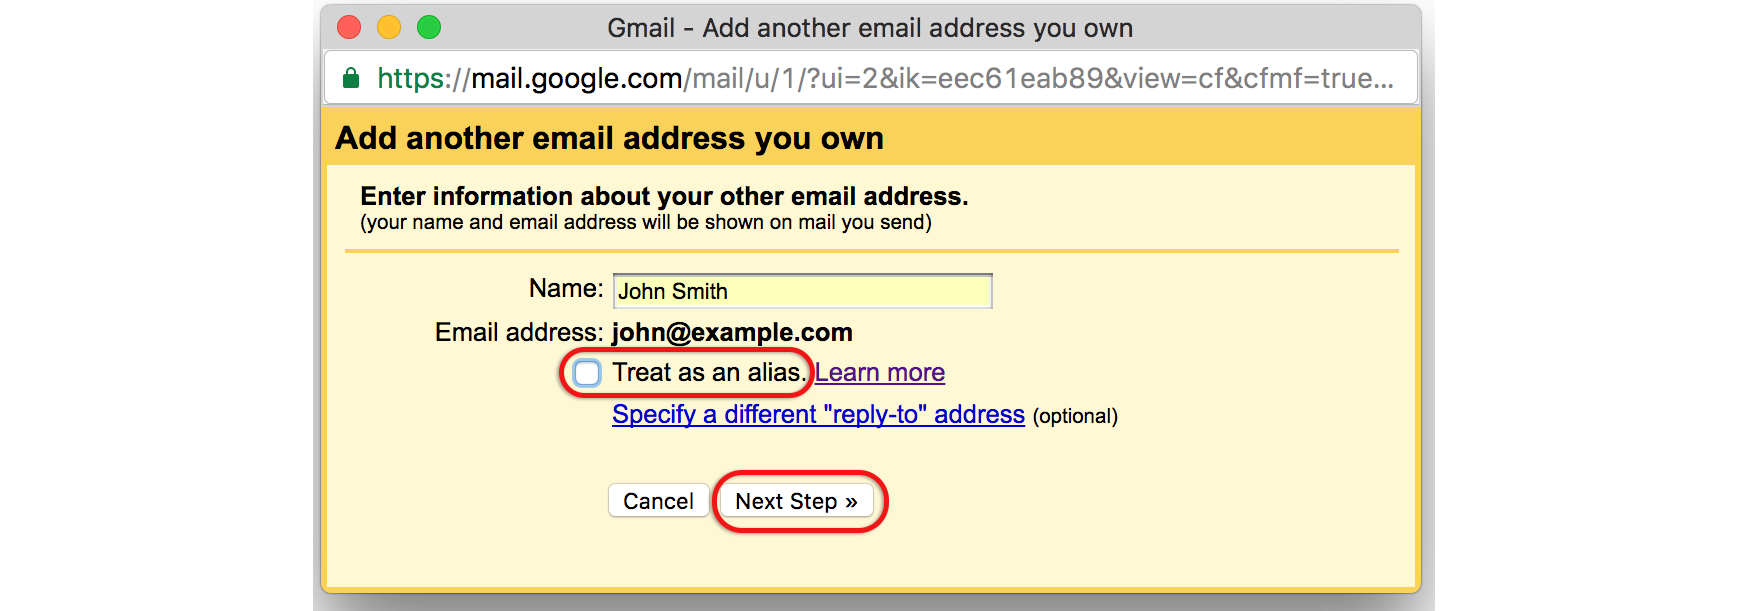
- Your account has now been set up to receive your domain email, but you can now continue to set up the account to send mail from your domain. Select Yes and Next
- Untick Treat as an alias
- Select Next Step
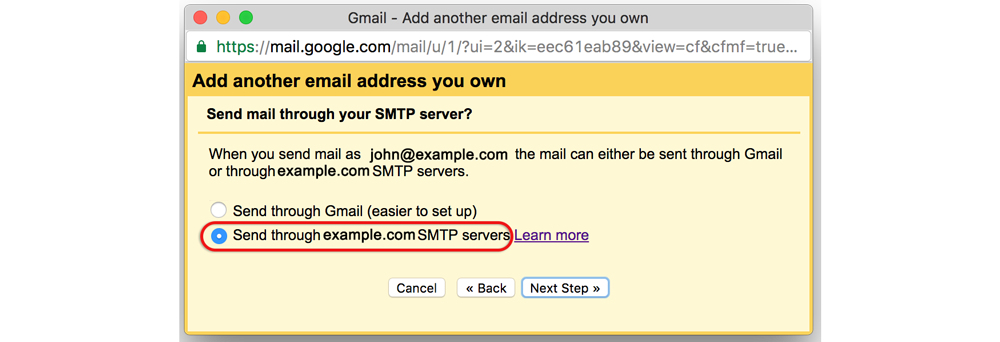
- Send mail through your SMTP server? Select the second option. The default setting is to send mail using Gmail SMTP servers, and while this will work, it is not recommended. The reasons are that Gmail servers are more likely to be blacklisted for spam abuse, and certain mail servers will not receive mail from domains that are not associated with that particular server.
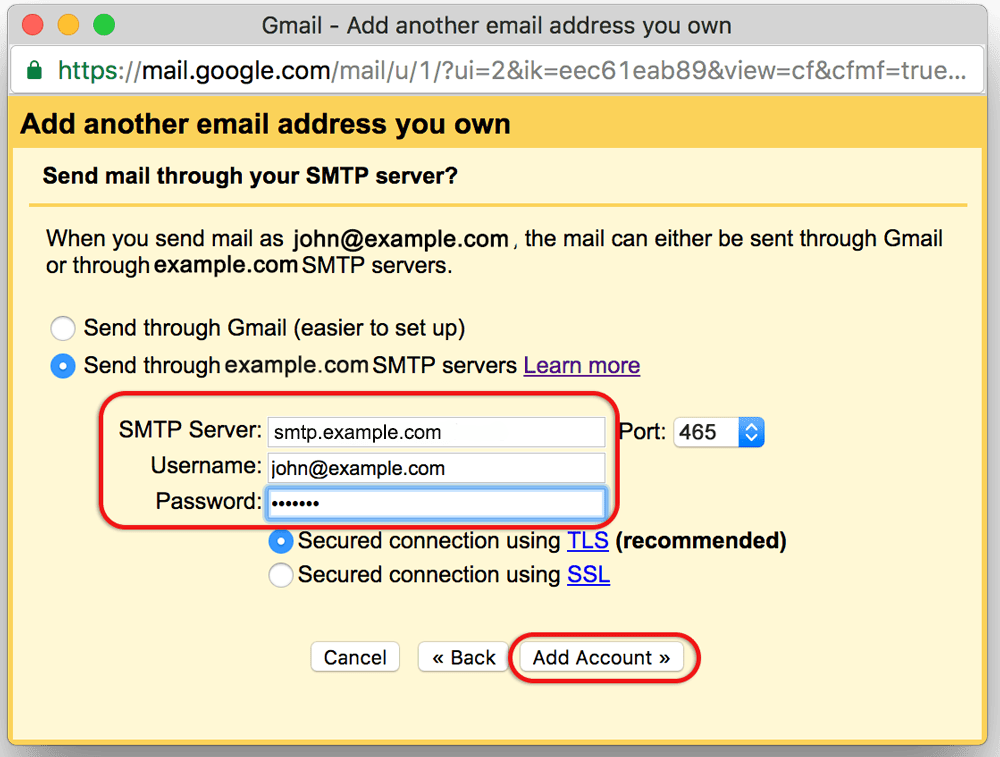
- The current dialogue box opens up to add the SMTP details. Ensure that:
- The SMTP Server has smtp. in front of the domain name e.g. smtp.example.com*
- The Username is the full email address
- The Password is included
- This will not work if you have SSL enabled. If this is the case use us2.smtp.mailhostbox.com instead
- Select Add Account
- Gmail will check credentials, and then provide the following dialogue box:
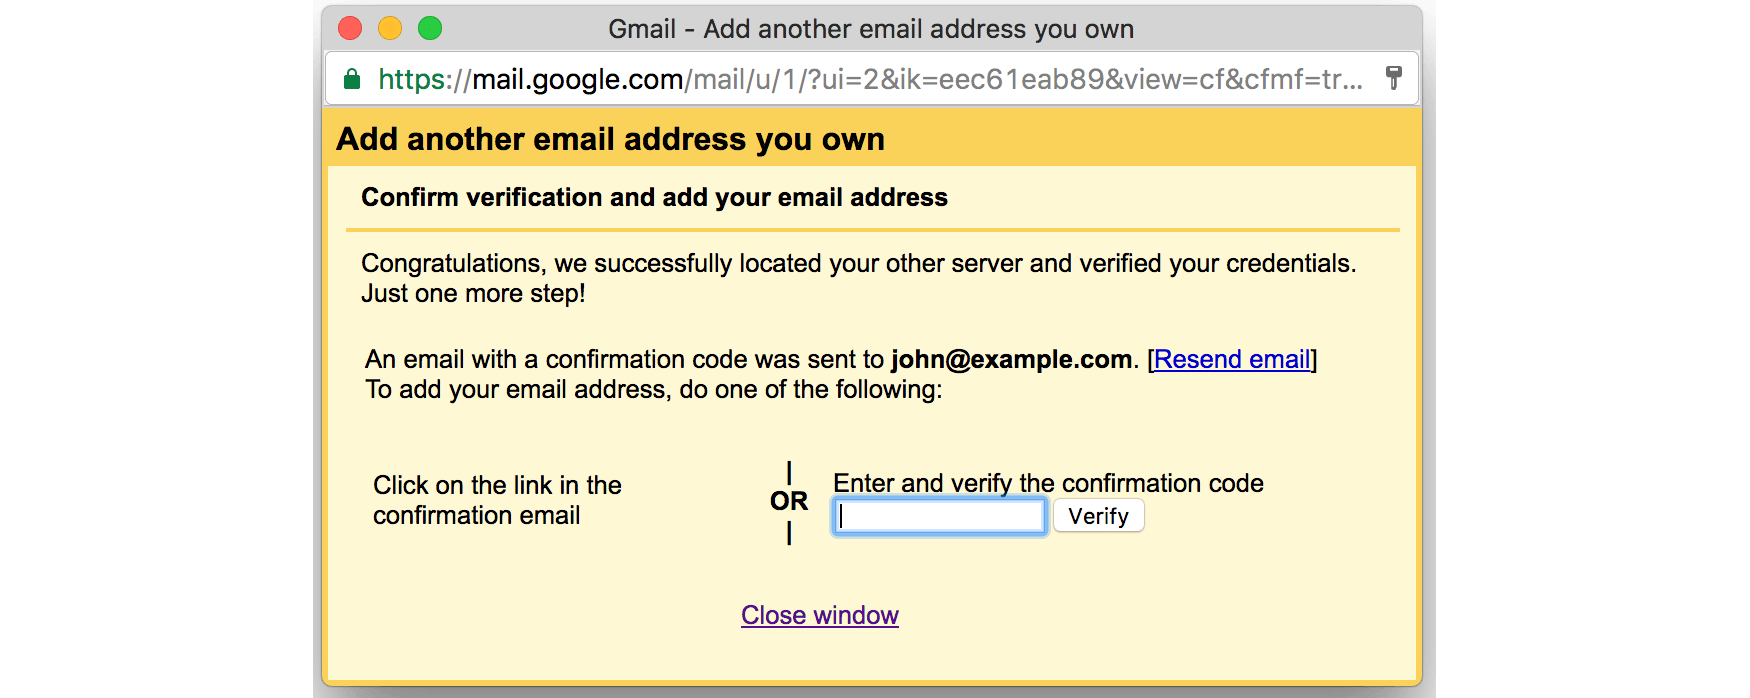
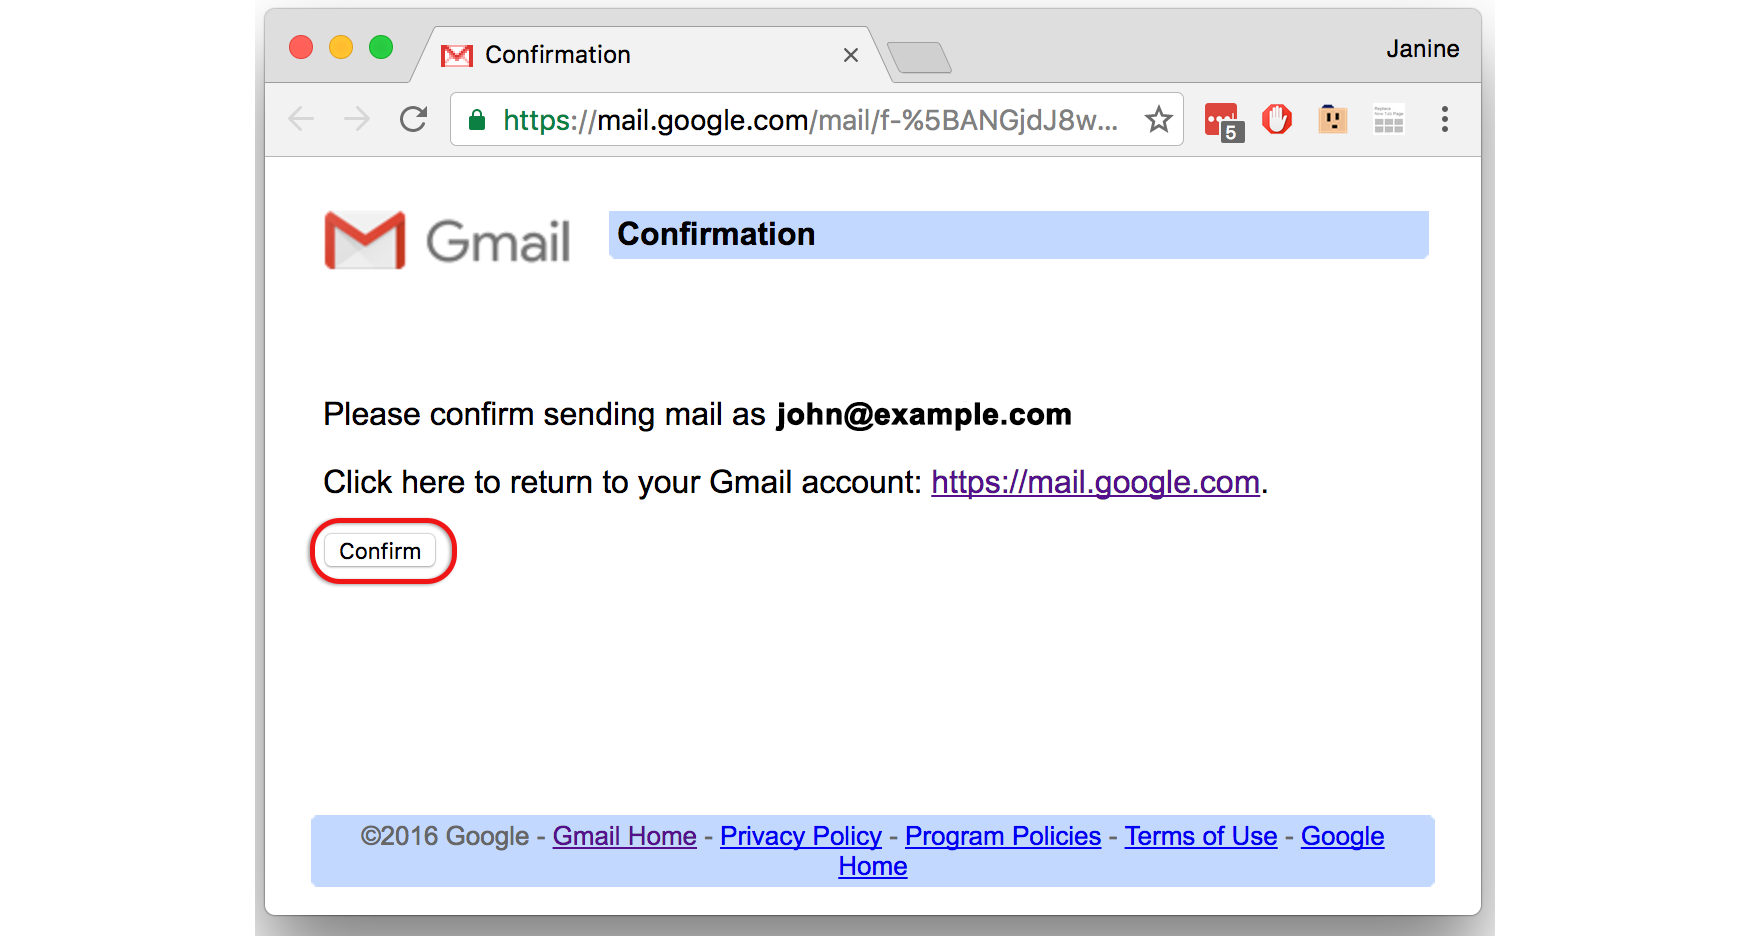
- Open your mail and click the link on the confirmation email
- * Note: In isolated cases mail.domain (e.g. mail.example.com) and smtp.domain won’t work. In these cases you will need to use the server name instead e.g. us2.smtp.mailhostbox.com.
- Confirmation success! Your domain mail is now set up to be accessed via Gmail.
