If you have a Windows 10 PC, it has the Windows Mail App installed by default that you can use to configure your email accounts. The Mail App is also on Windows 8 and its variants, and you can use this article to configure your Email Account on Windows 8 as well.
Note: We will be configuring the email account using SSL Hostnames for SMTP and IMAP protocols.
- Type Mail into the search bar next to the start menu.
- Click the Mail icon that appears in the search results.
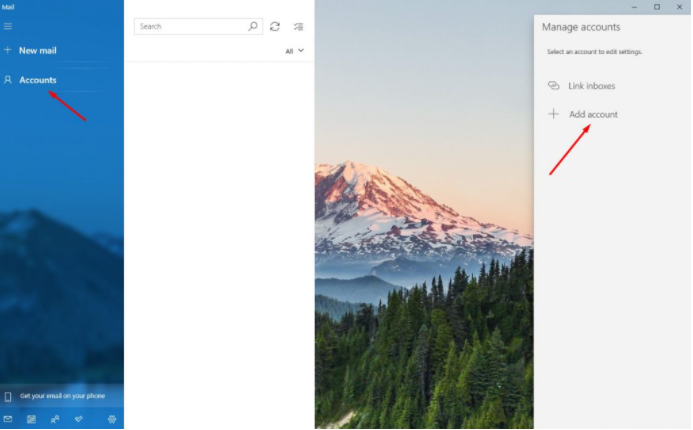
- Launch the Windows 10 Mail App. On the left, you will see an option called Accounts. Click on it, and a new column will slide in on the right. Click on Add Account.
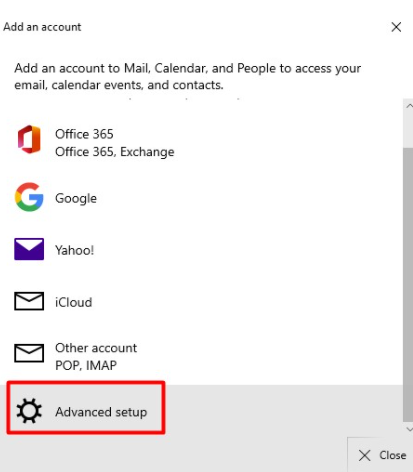
- Select Advanced setup.
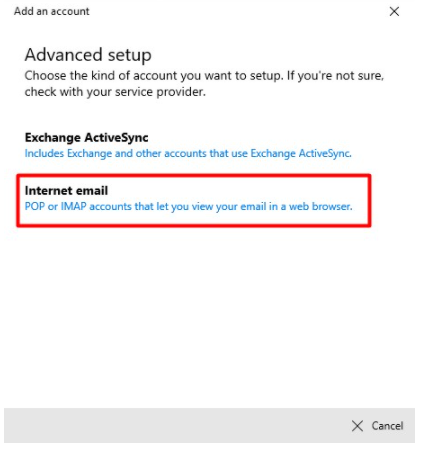
- Select Internet email.
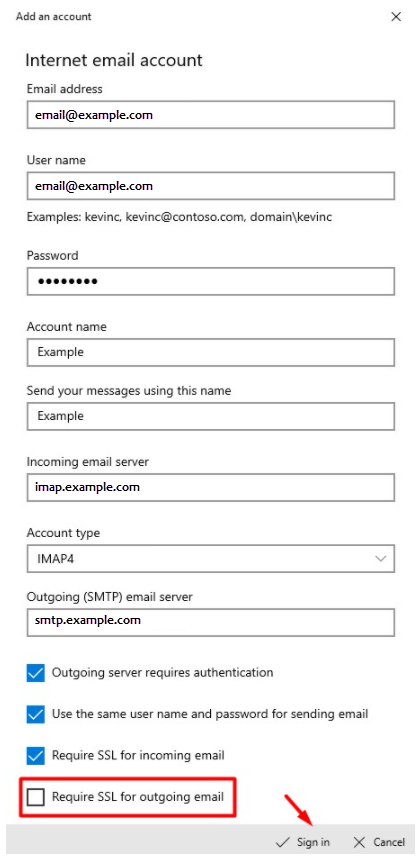
- Refer to the Email Client Settings below, and based on your preferences, enter the respective hostnames, port numbers, and encryption methods for the Incoming Mail and Outgoing Mail servers. Then click on Next.
SSL Email Port Settings (recommended) Outgoing Server SMTP smtp.domainname.com Port 26/587 Incoming Server IMAP imap.domainname.com Port 993 Incoming Server POP pop.domainname.com Port 995 Non-SSL Email Port Settings Outgoing Server SMTP mail.domainname.com Port 25/587 Incoming Server IMAP mail.domainname.com Port 143 Incoming Server POP mail.domainname.com Port 110 Note: The domainname.com in the above example needs to be replaced with your actual domain name.
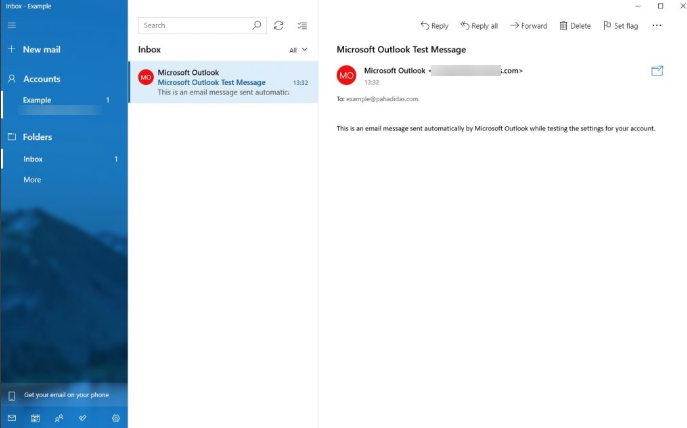
- Your email account has been configured successfully!
Click on Done to conclude the process.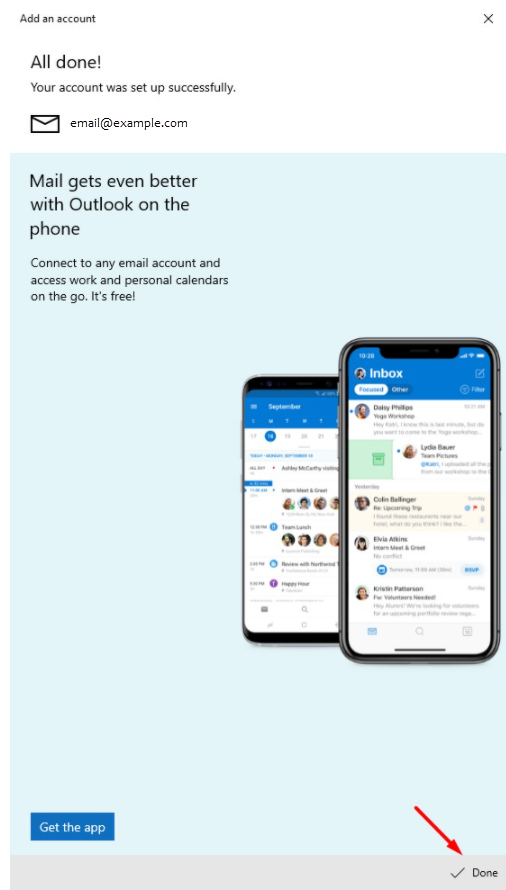
- You can now send and receive emails from your Email Client.